
Stove glass going black: fuel, airwash and cleaning mistakes
Stove glass going black is not always a sign that the glass itself has failed. In most cases, the pane is showing what is happening inside the stove: fuel that is not dry enough, air controls closed too early, an airwash path that cannot work properly, a tired door gasket or cleaning habits that make the surface harder to keep clear.
The useful answer is not to scrub harder straight away. First, look at when the glass goes black, where the mark appears and how quickly it returns after a normal clean. Those details help separate ordinary soot from a burning problem, a door seal issue or a pane that needs a more serious check.
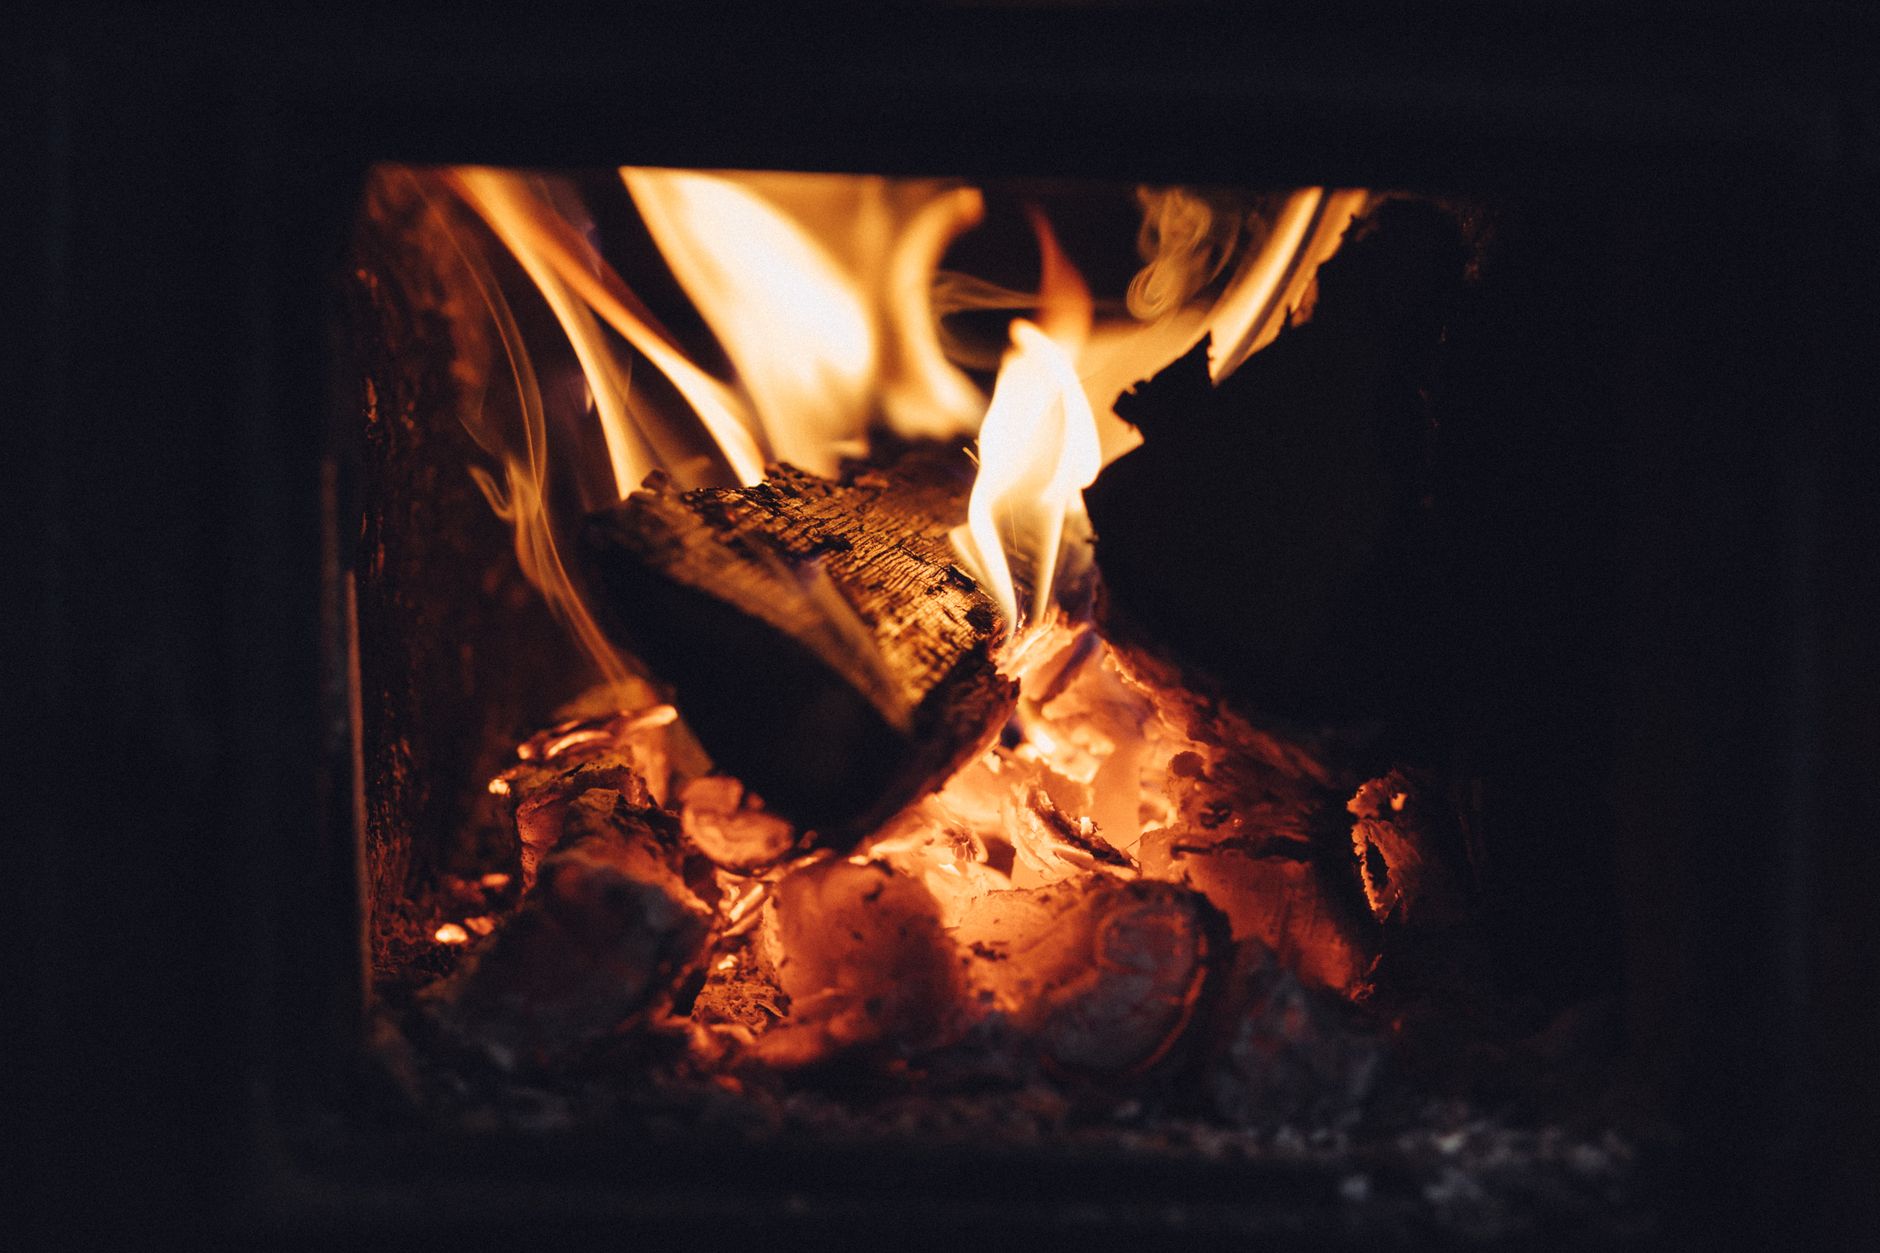
Read the black mark before cleaning it away
Check the stove when it is completely cold. A light haze after several fires can be normal. A thick black layer that appears after each use deserves more attention. The pattern matters because different marks point to different causes.
If the whole pane darkens evenly, the fire may be burning too cool or the fuel may be damp. If one side or one bottom corner blackens first, the door seal, airwash route or door closure may be involved. If the dark mark starts near a clip or a pressure point, the fitting should be checked before anyone tightens the fixings further.
Take one photo before cleaning and another after a normal burn. A pair of simple photos often explains more than a long description. If a replacement is needed later, the earlier guide on wood burner glass replacement and measuring before you order is a useful next step.
Damp fuel blackens glass quickly
Fuel is one of the first things to check. Logs that are not properly seasoned produce more smoke, more vapour and a cooler start. The stove may still light, but the flame is less clean and the glass becomes the surface where the problem shows first.
Look at how the wood is stored. Heavy logs, damp bark, cold pieces from an unventilated shed or fuel brought indoors just before lighting can all make the first part of the burn smoky. Ceramic stove glass can cope with heat, but it cannot turn damp fuel into a clean flame.
If the glass used to stay clearer and has suddenly started blackening, think about what changed. A new fuel supplier, wetter storage, larger logs or a different lighting routine can all be more important than the pane itself.
Air controls closed too soon
Another common mistake is closing the air controls before the fire is properly established. A cold stove, damp fuel and reduced air make a slow, smoky start. That smoke often condenses on the glass, especially while the pane is still cold.
The aim is not to run the stove with excessive air all the time. The point is to let the fire catch cleanly before reducing the air, while always following the appliance manual. If the stove never reaches a lively flame, the airwash system has little chance of keeping the pane clear.
When several people use the same stove, habits matter. One person may close the air early to make the fuel last longer, while another may start with more air and get a cleaner flame. If the glass only blackens after certain uses, that is useful information.
Airwash is not a magic screen cleaner
Many modern stoves use an airwash system, where a stream of air helps keep smoke away from the inside of the glass. It helps, but it cannot overcome damp fuel, a weak start, a blocked route or an uneven door seal.
If the airwash path is dirty, restricted or affected by a poor seal, the pane may mark in a repeated pattern. A black strip along one edge can mean air is not moving across the glass as expected. A black lower area can also appear when the fire is run too low for too long.
Before assuming the airwash is broken, clean gently, check the door gasket and observe the next normal burn. If the same mark returns in the same place, you have a clearer reason to inspect the door and the way the glass is held.
Quick reading table
| What you see | Likely direction | First check to make |
|---|---|---|
| Whole pane turns black | damp fuel or low air | fuel storage and start-up air |
| One edge blackens first | airwash or door seal | gasket, closure and air path |
| Sticky brown or black film | cool, smoky burn | fuel quality and fire temperature |
| Mark near a clip | local pressure or fitting issue | retainers and glass support |
| Black glass plus a crack | not just dirt | stop using and inspect safely |
Check the gasket before blaming the pane
The door gasket can change how the stove behaves. If it is flat, hard, missing in places or badly seated, the airflow around the door may become irregular. That can affect combustion and can also create repeat soot marks on the glass.
Open the door cold and look closely around the glass and the door frame. A sound gasket should be continuous and properly placed. If one area looks compressed or burnt, it may explain why the glass marks on the same side again and again.
This check is especially important if the glass has been removed before. A gasket that was disturbed during earlier work, a bent clip or a screw tightened too much can all create uneven support. Stove glass should be held securely, not clamped with force.
Clean gently, not aggressively
When stove glass is black, it is tempting to use a blade, rough pad or strong product. That can create a new problem. Fine scratches hold soot more easily, so a pane that has been cleaned aggressively can become harder to keep clear over time.
Use the stove only when it is cold enough to handle safely. Start with a soft cloth and a product suitable for stove glass. If you use fine ash, make sure it is cold and free from hard particles. The guide to cleaning wood stove glass is useful because it keeps the method gentle and practical.
After cleaning, the next burn is the real test. If the mark does not return, cleaning and better burning conditions may be enough. If the same mark comes back immediately in the same place, the problem is probably not just dirt.
When black glass is a warning sign
Soot can be cleaned. A cracked pane, loose glass, metal contact or a retainer pressing hard on one point needs a different response. Do not treat those signs as ordinary dirt.
If the pane is cracked, stop using the appliance until the situation has been checked. The page on cracked wood stove glass is more relevant than a cleaning guide because it deals with safety, pressure and replacement decisions.
If you need to touch clips or retainers, read the assembly tips first. The glass needs even support and a moderate hold. Tightening more firmly is not automatically safer.
A simple test after cleaning
A controlled, simple test can tell you a lot. Clean the glass gently, use fuel you know is dry, let the fire establish properly, then watch how the pane looks after a normal burn. Do not judge only from a difficult cold start or from one overloaded fire.
If the pane stays clearer, the glass was probably showing a fuel or air problem. If one mark returns in exactly the same area, check the gasket, airwash route and door closure. If the glass moves or touches metal, stop and inspect the fitting before using the stove again.
| Test | How to do it | What it tells you |
|---|---|---|
| Gentle clean | soft cloth, suitable product, cold pane | whether the mark is only normal soot |
| Drier fuel | use well stored logs for one normal burn | whether smoke at start-up was the issue |
| Cleaner start | do not close air too early | whether low temperature caused the soot |
| Gasket check | inspect the cold door seal in good light | whether the mark matches a weak spot |
| Photo comparison | before clean and after next burn | whether the same pattern returns |
If replacement glass is still needed
Sometimes the checks lead to a clear conclusion: the pane is not just dirty. It may be cracked, scratched badly, loose, wrongly supported or the wrong size for the door. In that case, prepare the replacement carefully rather than ordering from a guess.
Measurements should be written in millimetres. Record width, height, thickness and shape. If the old pane is still available, keep it until the new glass has been checked. Even a damaged pane can show the true corners, thickness and position of any shaped edge.
The measuring guide on how to take your measurements helps separate the visible opening from the actual glass size. That distinction matters because the glass may sit behind a lip or under clips.
Photos that make a request clearer
Photos are often more useful than a long message. Take one picture of the whole stove, one of the open door, one close-up of the gasket, one of the clips or retainers and one of the area where the glass blackens first.
Avoid sending only extreme close-ups. A close-up is helpful when the full door is also visible, because the position of the mark can explain the airflow or fitting issue. If the glass has a special shape, mark top, bottom, left and right before removing it.
If the appliance model is unknown, photos become even more important. They show the door construction, the way the pane is held and whether the replacement is a simple rectangle or a shaped panel.
Use the calculator when the information is ready
The made-to-measure stove glass calculator is useful once the information is clear. Before using it, check width, height, thickness, shape, gasket condition and photos. A careful order reduces the risk of receiving glass that is almost right but not safe to fit.
If one detail remains uncertain, use the contact page with photos and a short explanation. A good request does not need to be long. Say what you see, when the glass goes black, whether the pane is cracked or loose and where the measurements came from.
Calculate made-to-measure glass
Cleaning mistakes to avoid
The first mistake is assuming that black glass always means the pane is faulty. The second is using harsh tools that scratch the surface. The third is ordering a replacement before checking fuel, airwash, gasket and fitting. Those mistakes often lead to the same result: the glass looks clean for a moment, then blackens again.
Work in the right order. Observe the mark, check the fuel, let the fire start cleanly, clean gently, inspect the gasket and only then decide whether replacement glass is needed. If the pane is sound, the solution may be better use and maintenance. If the pane is cracked, loose or badly supported, replacement becomes a more serious decision.
FAQ about stove glass going black
Does black stove glass need replacing?
Not always. If it is only soot, clean it gently and check fuel, air and the door gasket. Replacement is more likely if the pane is cracked, loose, deeply scratched or touching metal.
Why does the glass go black soon after lighting?
Usually because the first part of the burn is too cool or smoky. Damp fuel, low air and a slow start can mark the glass before the stove reaches a clean burn.
Can the airwash fail?
It can be affected by poor burning conditions, blocked passages or a bad door seal. If the same edge blackens repeatedly, check the airwash path and the gasket rather than only cleaning the pane.
Can cleaning damage stove glass?
Yes. Abrasive pads, blades and unsuitable products can leave scratches. A scratched surface holds soot more easily, so gentle cleaning is usually better than force.
In short
Stove glass going black is a clue, not just a cleaning job. Before replacing the pane, check fuel, start-up air, airwash, gasket condition, fitting pressure and cleaning method. Many black marks can be reduced by improving the burn and cleaning gently.
If the glass is cracked, loose, touching metal or blackening in the same place despite a good burn, prepare clear photos and measurements. The safest order is simple: observe, clean carefully, test once, inspect the door and then order or ask for advice with the right information.